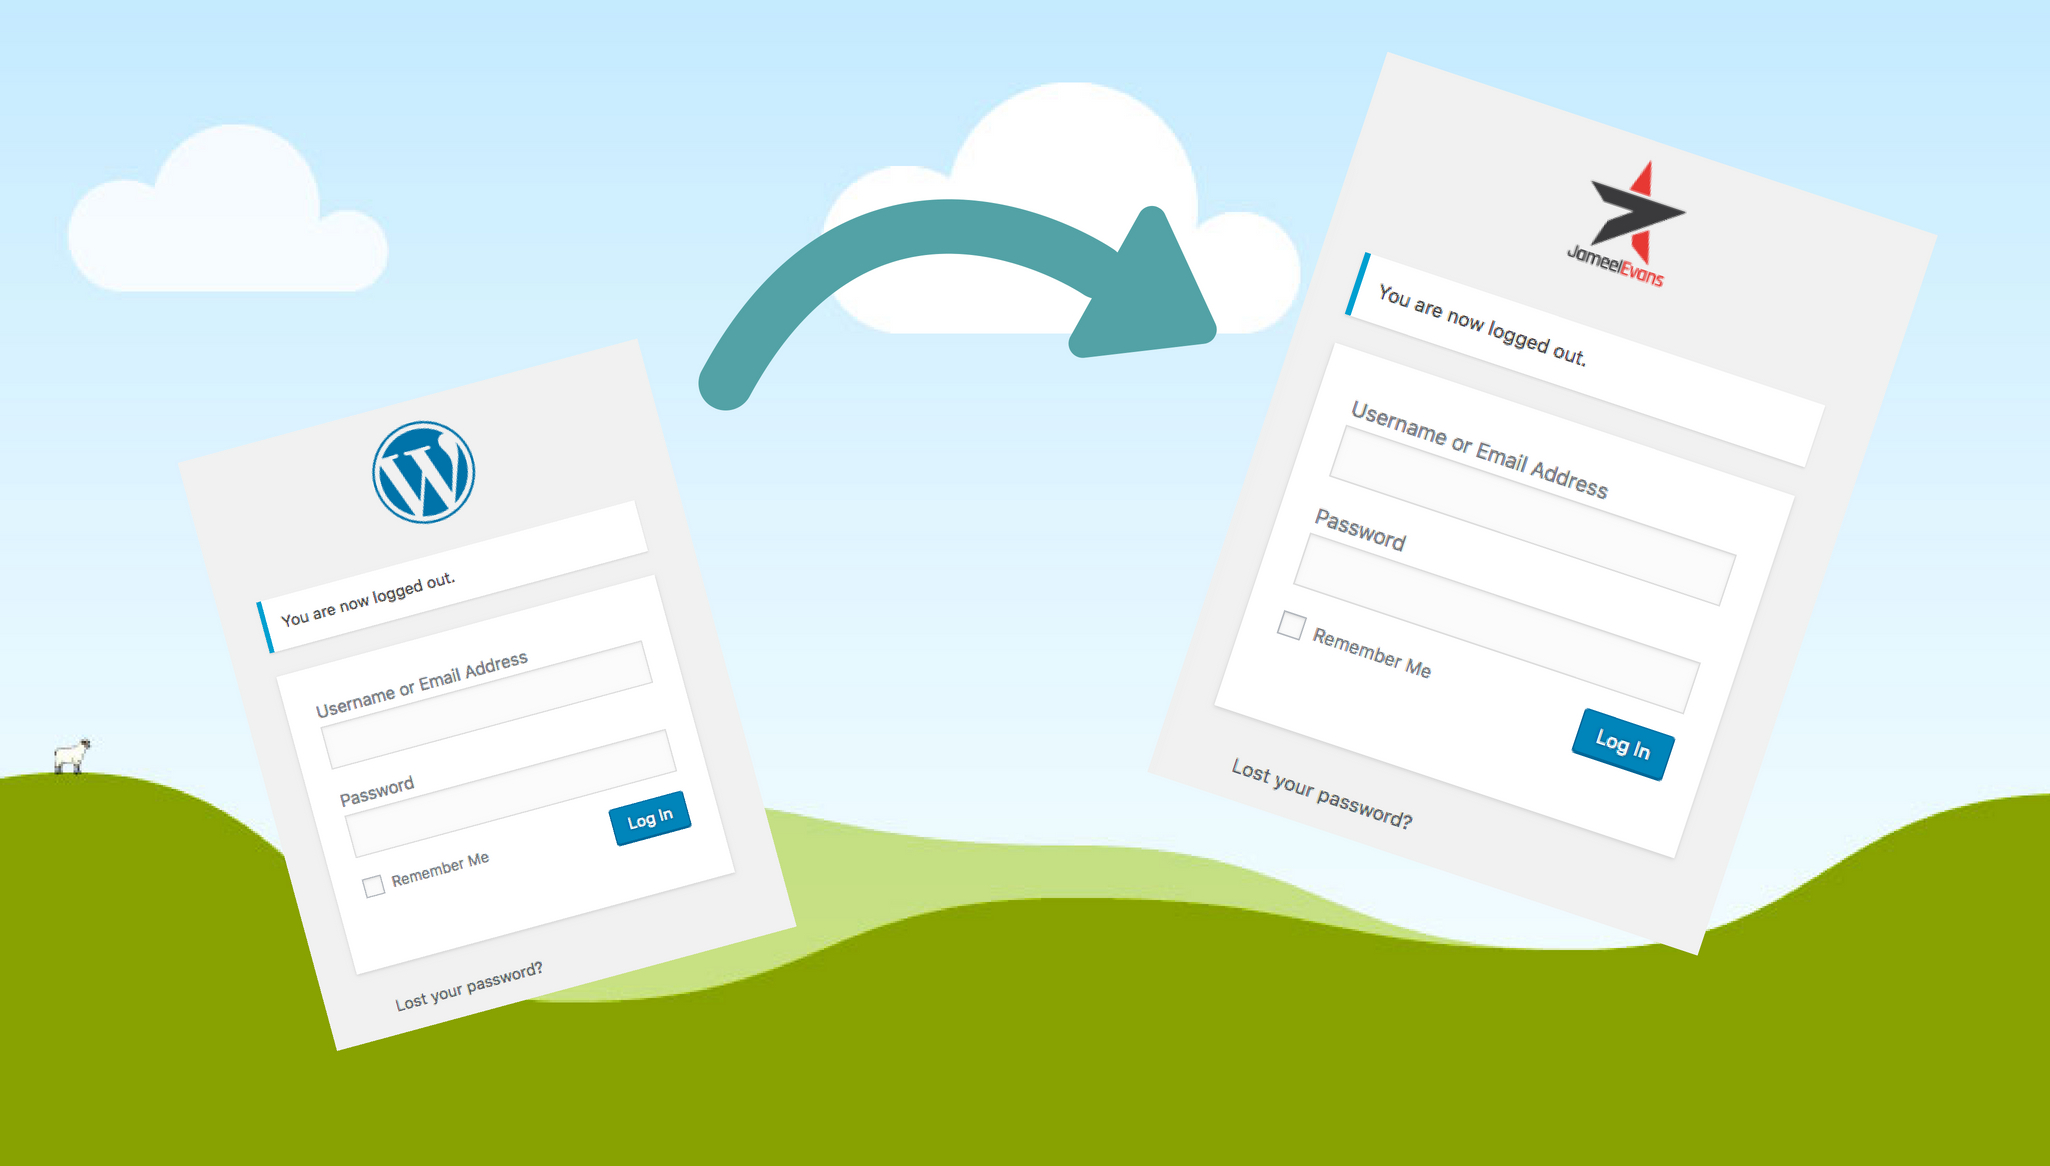
Now that you have a brand spanking new website that admin menu is starting to look a bit boring. Take 5 minutes out of your day to learn 3 easy steps to add your own logo to the WordPress login screen.
Now that you have a brand spanking new website WordPress logo on the login is starting to look a bit uninspiring. Take 5 minutes out of your day to learn 3 easy steps to add your own logo to the WordPress login screen.
- How to add your own logo to you WordPress login screen
- Where to add your assets for this project
This will be quick and painless! But you get started, you should already know where your functions.php file is located and of course you should already have a logo.
PNG or JPG will work but a logo without a white background always looks more professional, so go with a PNG.
1 Upload Your Logo
Upload your logo file to the appropriate directory of your theme (or child theme).
You can place your logo wherever you wish, but remember if you move it or rename the file later, you’ll end up with a broken image link.
2 Add a New Function
Open your functions.php file and paste the following code:
    <style type="text/css">
        #login h1 a, .login h1 a {
            background-image: url(<?php echo get_stylesheet_directory_uri(); ?>/path-to/your-logo.png);
            height:75px;
            width:320px;
            background-repeat: no-repeat;
            padding-bottom: 20px;
        }
    </style>
    <?php }

    add_action( 'login_enqueue_scripts', 'custom_login_logo' );
In The Code
In the code above we’ve added a new function named custom_login_logo. Since HTML and PHP can’t be mixed, we have to close out our PHP with ?> before the <style> tag. Then right after the </style> tag we reopen PHP with <?php.
The defined styles in true code above mimics the size and position of the original WordPress logo. The ID login and class login are already predefined within the WordPress login HTML, so all we have to do is use utilize them.
The get_stylesheet_directory_uri() function is used the insert the URI (or web address) of your website without the trailing slash. Please note, If you are using a child theme use get_template_directory_uri() instead.
The login_enqueue_scripts hook enables us to override WordPress’ styles and use our own
3 Add path to your own logo
Go to the image you uploaded and copy the path. Remember to leave out your URI (www.yourwebsite.com) because we already included it with the get stylesheet directory function.
Replace /path-to/your-logo.png in the code above with the path to your logo that you just copied. Now go and log out of your WordPress site and go to you admin section to see you new logo in all it glory. It’s that easy!
Wrapping Things Up
Adding your logo is a pretty simple task and your clients will like it. But you can take it one step further by reading my other resource 5 Easy Steps to Completely Customize Your WordPress Login Screen. If you found this post helpful share t with your developer friends.
Previous Resource
5 Important Questions to Ask Before Starting Your Website ProjectFeatured Resources
Blog posts authored by Jameel with easy-to-navigate table of content
Starters Guide to Git & GitHub in Web Development
The Definitive Guide to 508 and ADA Website Compliance
201 Most Inspirational Dr. Martin Luther King Jr Quotes
101 Most Inspirational Steve Jobs Quotes
81 Front End Developer Interview Questions – With Tips & Videos!
3 Best SEO Rank Trackers in the Industry
3 Easy Steps to Add Previous & Next Post Pagination to Your WordPress Theme
5 Easy Steps to Completely Customize Your WordPress Login Screen
3 Easy Steps to Add Your Own Logo to the WordPress Login Screen
5 Important Questions to Ask Before Starting Your Website Project
3 Easy Steps to Add Support for Header Images to Your WordPress Theme
Here's a couple of recommendations from Linkedn


