
Now that you have your header image hard-coded, you may not want to keep it that way for long. What if you of a client want a way to easily change it in the future? In this post you’ll learn 3 easy steps to add support for header images to your WordPress theme.
Table of contents
Have you ever wondered how in some themes you’re able to upload a header image, crop it and, PRESTO! It magically appears everywhere you want.
Turns out it not magic after-all. This functionality is called header image theme support, and it’s pretty easy to accomplish.
1 Add Theme Support for Your Header Image
In order to have the see the Header option in your WordPress Dashboard you must first tell your theme to enable the functionality.
This is pretty straight-forward! We’ll start by navigating over to the functions.php file of your theme and add this bit of code here:
      $args = array('height' => 400,'width' => 1020);
        add_theme_support('custom-header', $args);
      ));
or you can do it like this
      add_theme_support('custom-header', array(
          'width' => 1020,
          'height' => 400
      ));
In The Code
In the code above we are telling our theme that we want to enable the header image support. We also set the recommended height and width of our images, which will show up in our WordPress customize dashboard. You can change these dimensions to whatever you want. These are also the dimensions that WordPress will crop your images to if they are too big. You’ll notice there are too block of code. One sets our height and with as $args variables, the other doesn’t. Both will work, Choose one. All this is done by the WordPress add_theme_support function. Learn more about if here.
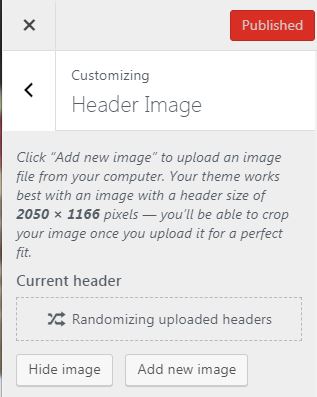
2 Upload Your Header Image
- Click on Appearance > Header > Header Image.
- You’ll see a button that says, Add New Image, click it!
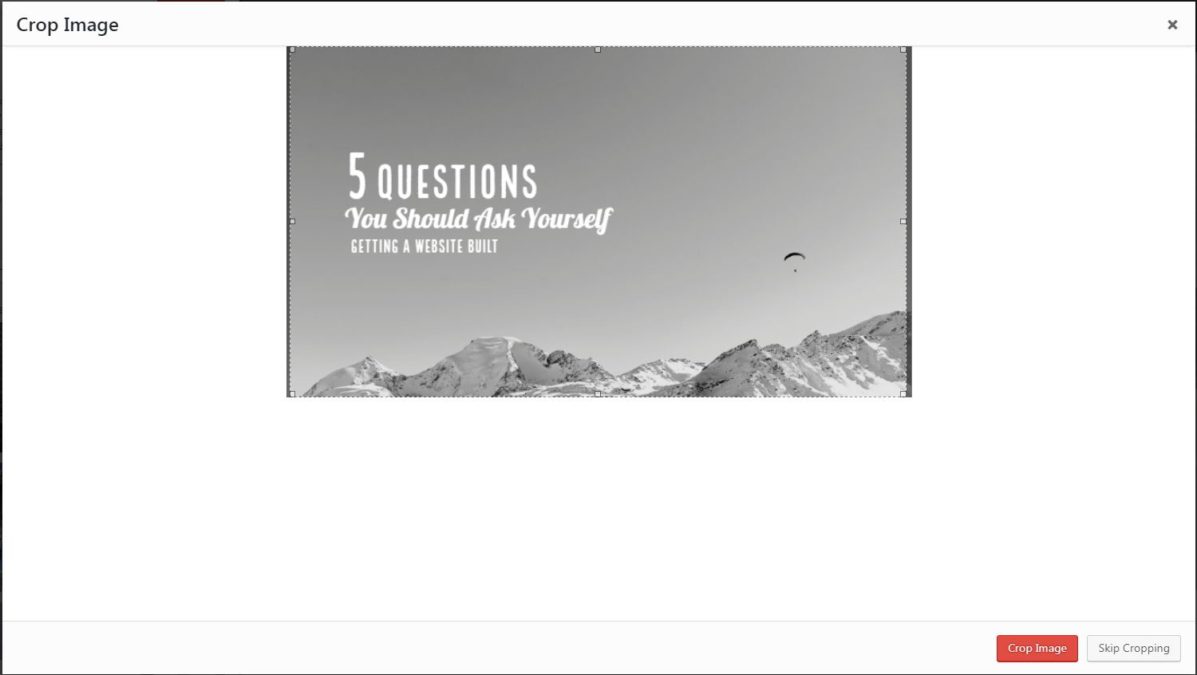
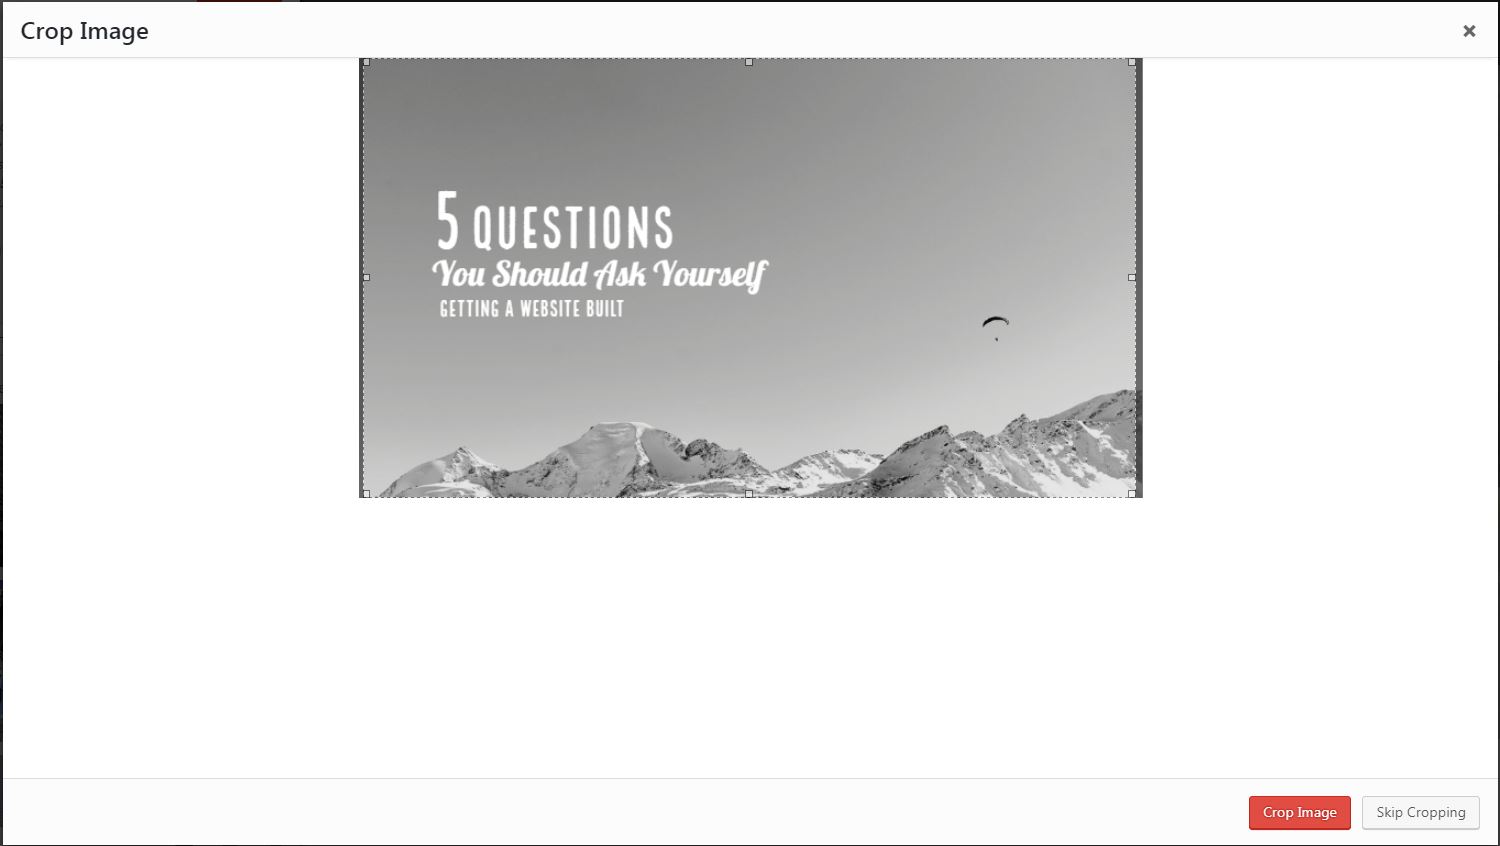
- Upload a new header image. You’ll have the choice to crop your header image to the exact dimensions you specified. Select Crop Image.
- Click on Publish to save your changes
3 Displaying Your Header Image
Finally, the good stuff! Go and preview your site, you’ll notice nothing changed. “WHY THIS HAPPEN?!”, you ask?
This is because we haven’t told WordPress where to place your dynamic header image. So let’s head on over to the file where you need to place your new header image and replace the src path with:
<?php the_header_image_tag( ); ?>
In The Code
The WordPress function above simply adds the path to the header image you uploaded and cropped in your Dashboard. Learn more about the header image tag here.
BONUS How to Add Multiple Revolving Header Images
Wouldn’t it be nice if you could have a different header image every time someone visited your web-page? We’ll this is possible within our WordPress Dashboard too! This is also very easy to accomplish.
Just head back over to your Header Image Dashboard and add a couple more images then select Randomize Uploaded Headers. Now every time you refresh your website, you’ll see a new image!
Wrapping Things Up
So now that you know how to add theme support for header images to your WordPress themes, go and make all the headers in all of your projects dynamic.
Your clients will love you for it! If you have done something neat or just want to show off how I helped with your project drop a link below.
Previous Resource
3 Easy Steps to Add a Dynamic Logo to Your WordPress ThemeFeatured Resources
Blog posts authored by Jameel with easy-to-navigate table of content
Starters Guide to Git & GitHub in Web Development
The Definitive Guide to 508 and ADA Website Compliance
3 Easy Steps to Add a Dynamic Logo to Your WordPress Theme
Here's a couple of recommendations from Linkedn
Jameel has worked with us on many of our graphics needs. You will find no one better than Jameel as he makes sure that every (I) is dotted and every (T) is crossed before he will release any of his work for publication. He is the best of the best. C. J. Brown III President PeoplePower, LLC

Jameel was a student in my program that I had the pleasure of teaching in several graphic design courses. He is a very talent graphic artist and has a great work ethic. He is also very versatile when it comes exploring new tools to assist him in his creations. Jameel is friendly and easy to communicate with and a true professional.

I had the pleasure of teaching Jameel several advanced web classes. He is an excellent problem solver, detail oriented and life long learner. A specific strength Jameel possess is his ability to find and implement answers on his own. I highly recommend him as graphic and/or web designer, as well as an essential team player.

I worked with Jameel at the AHA-Health Research and Educational Trust for over a year. Jameel is an exceptional team member and played a key role in supporting our project. His expertise as Web Support Specialist provided us with the key essentials to meet our deliverables. He is very attentive to detail and always willing to answer any questions. He will be a great asset to any organization!

Jameel worked on my team at the Health Research and Educational Trust leading our web design and additionally supporting us in number of other technology platforms. Jameel is self-directed individual who has a unique ability to approach each challenge with a positive attitude and a willingness to learn. In addition, Jameel was a reliable and trusted team member whose contributions will be missed!

Jameel is awesome to work with, he is very supportive and a great team member. I was lucky to work and collaborate with him on creating, designing and editing multiple project’s SharePoint sites